
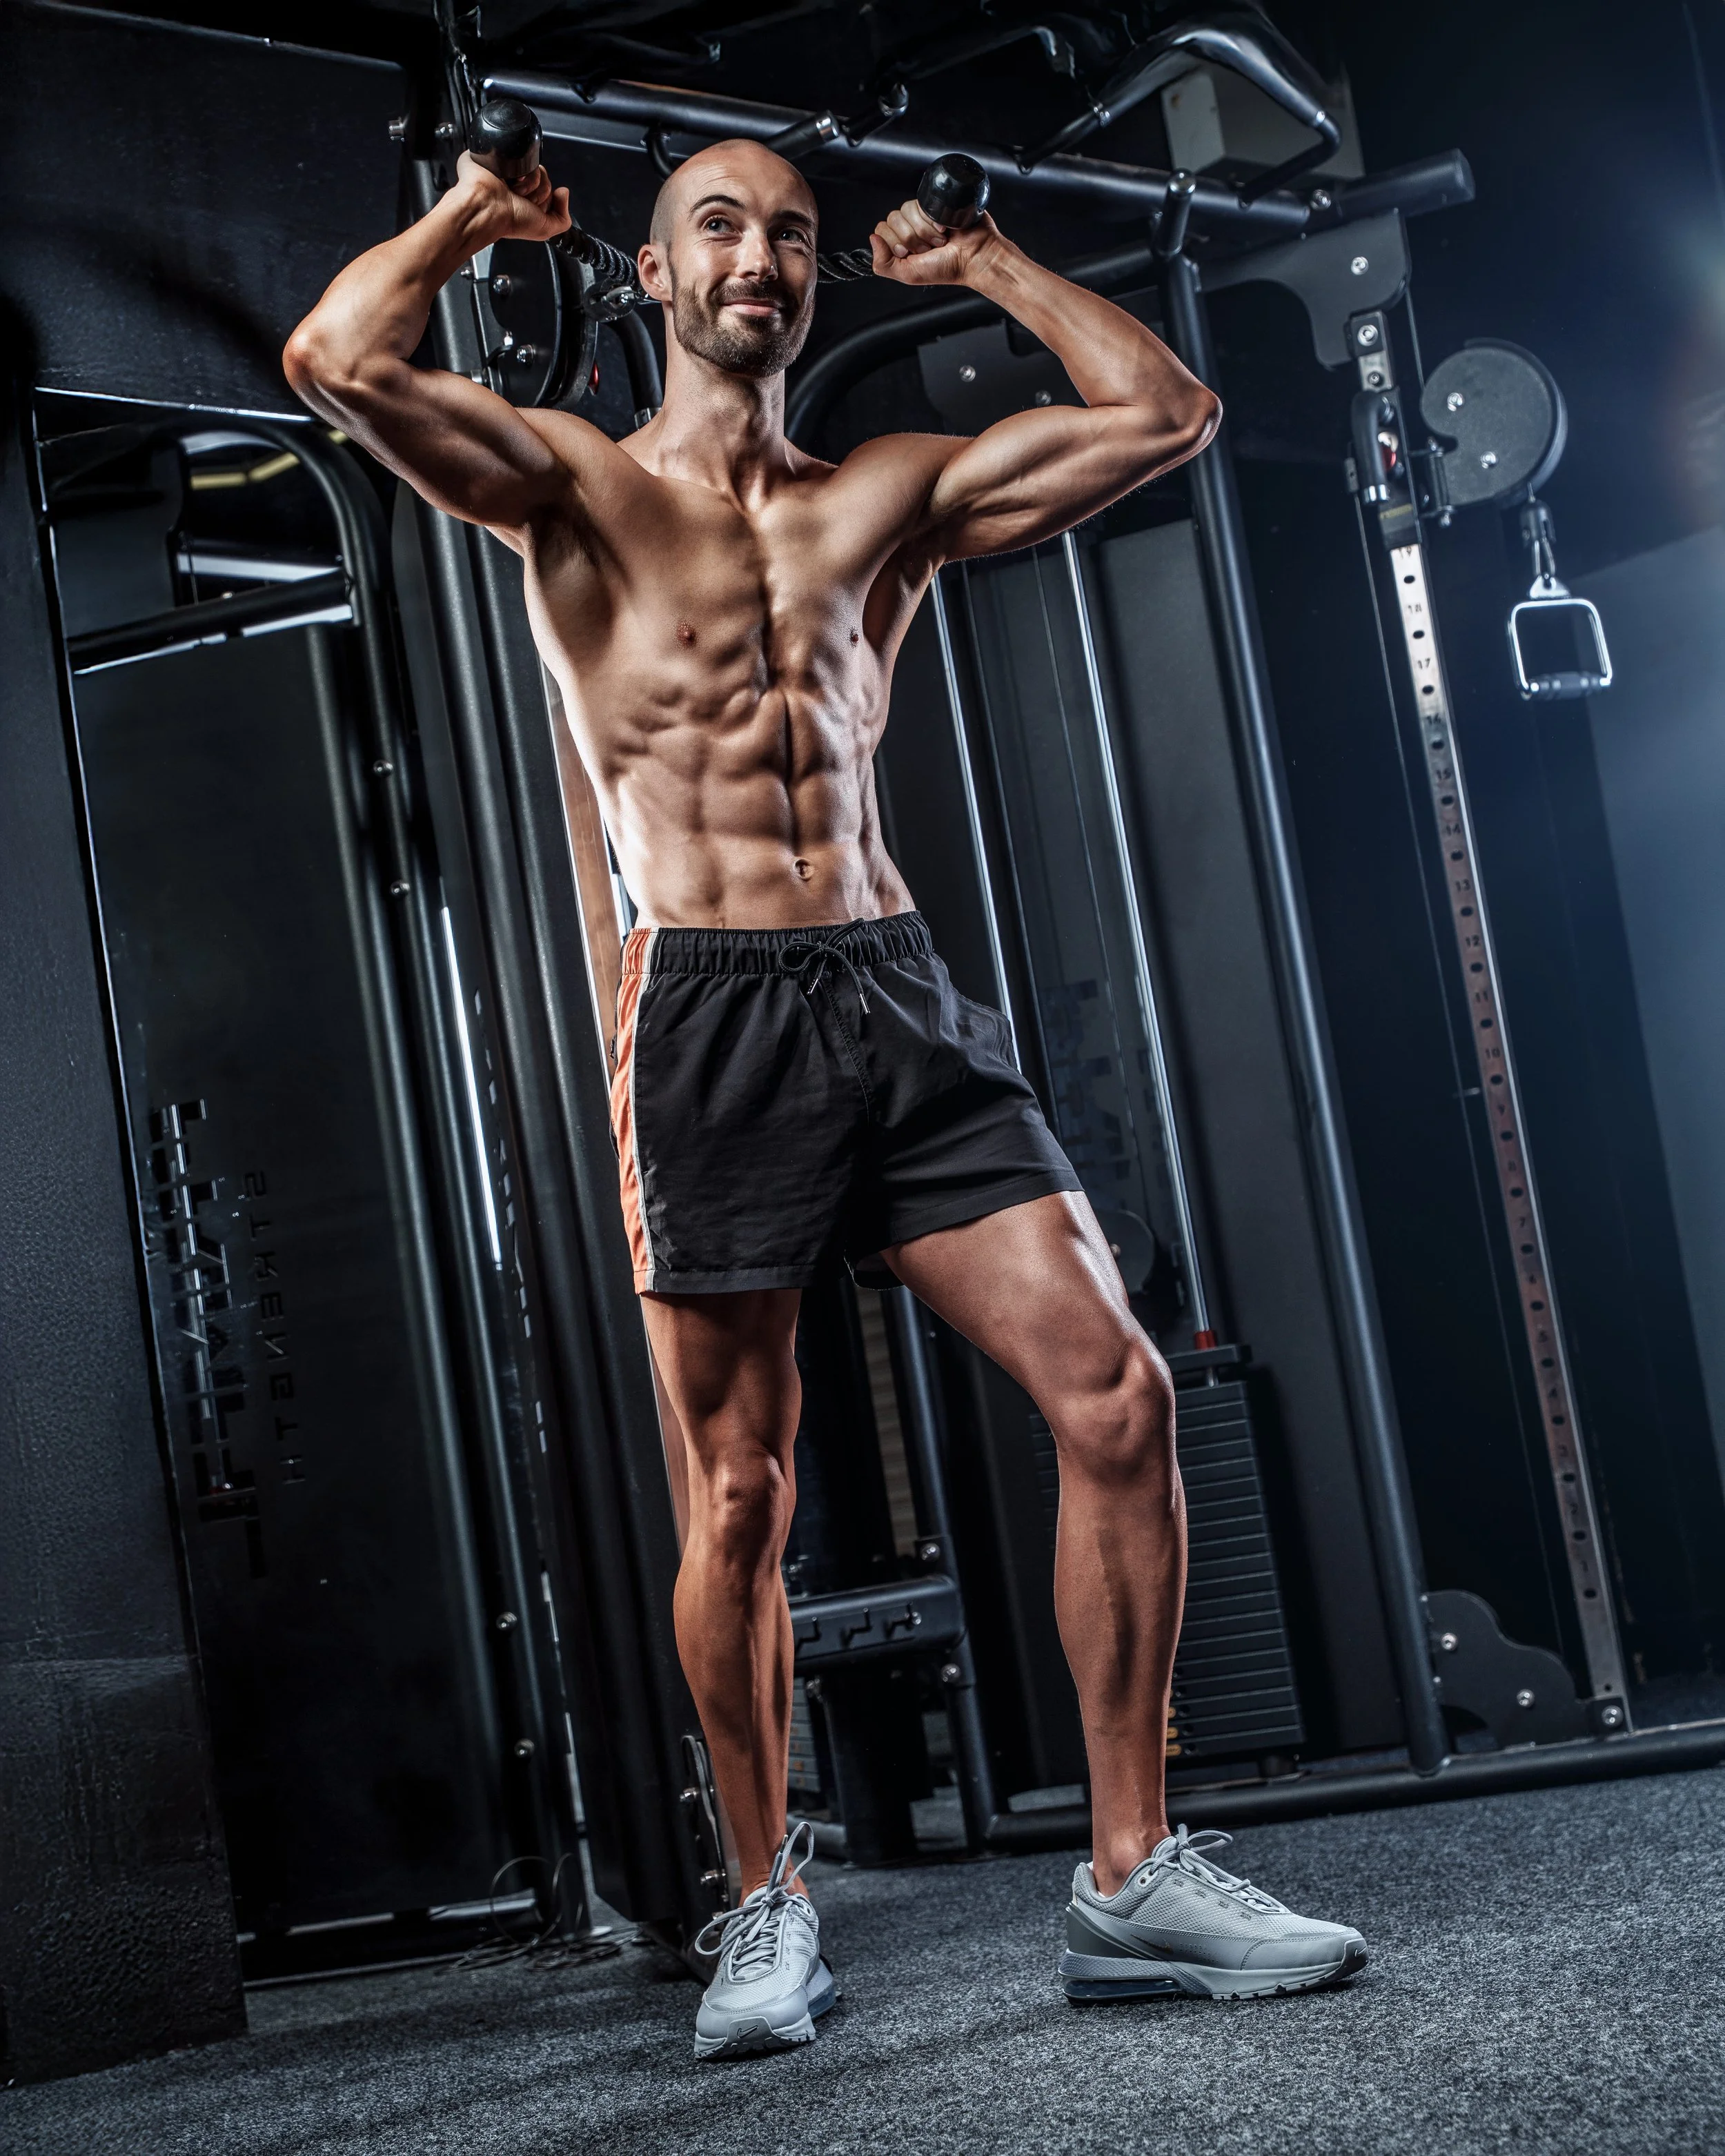
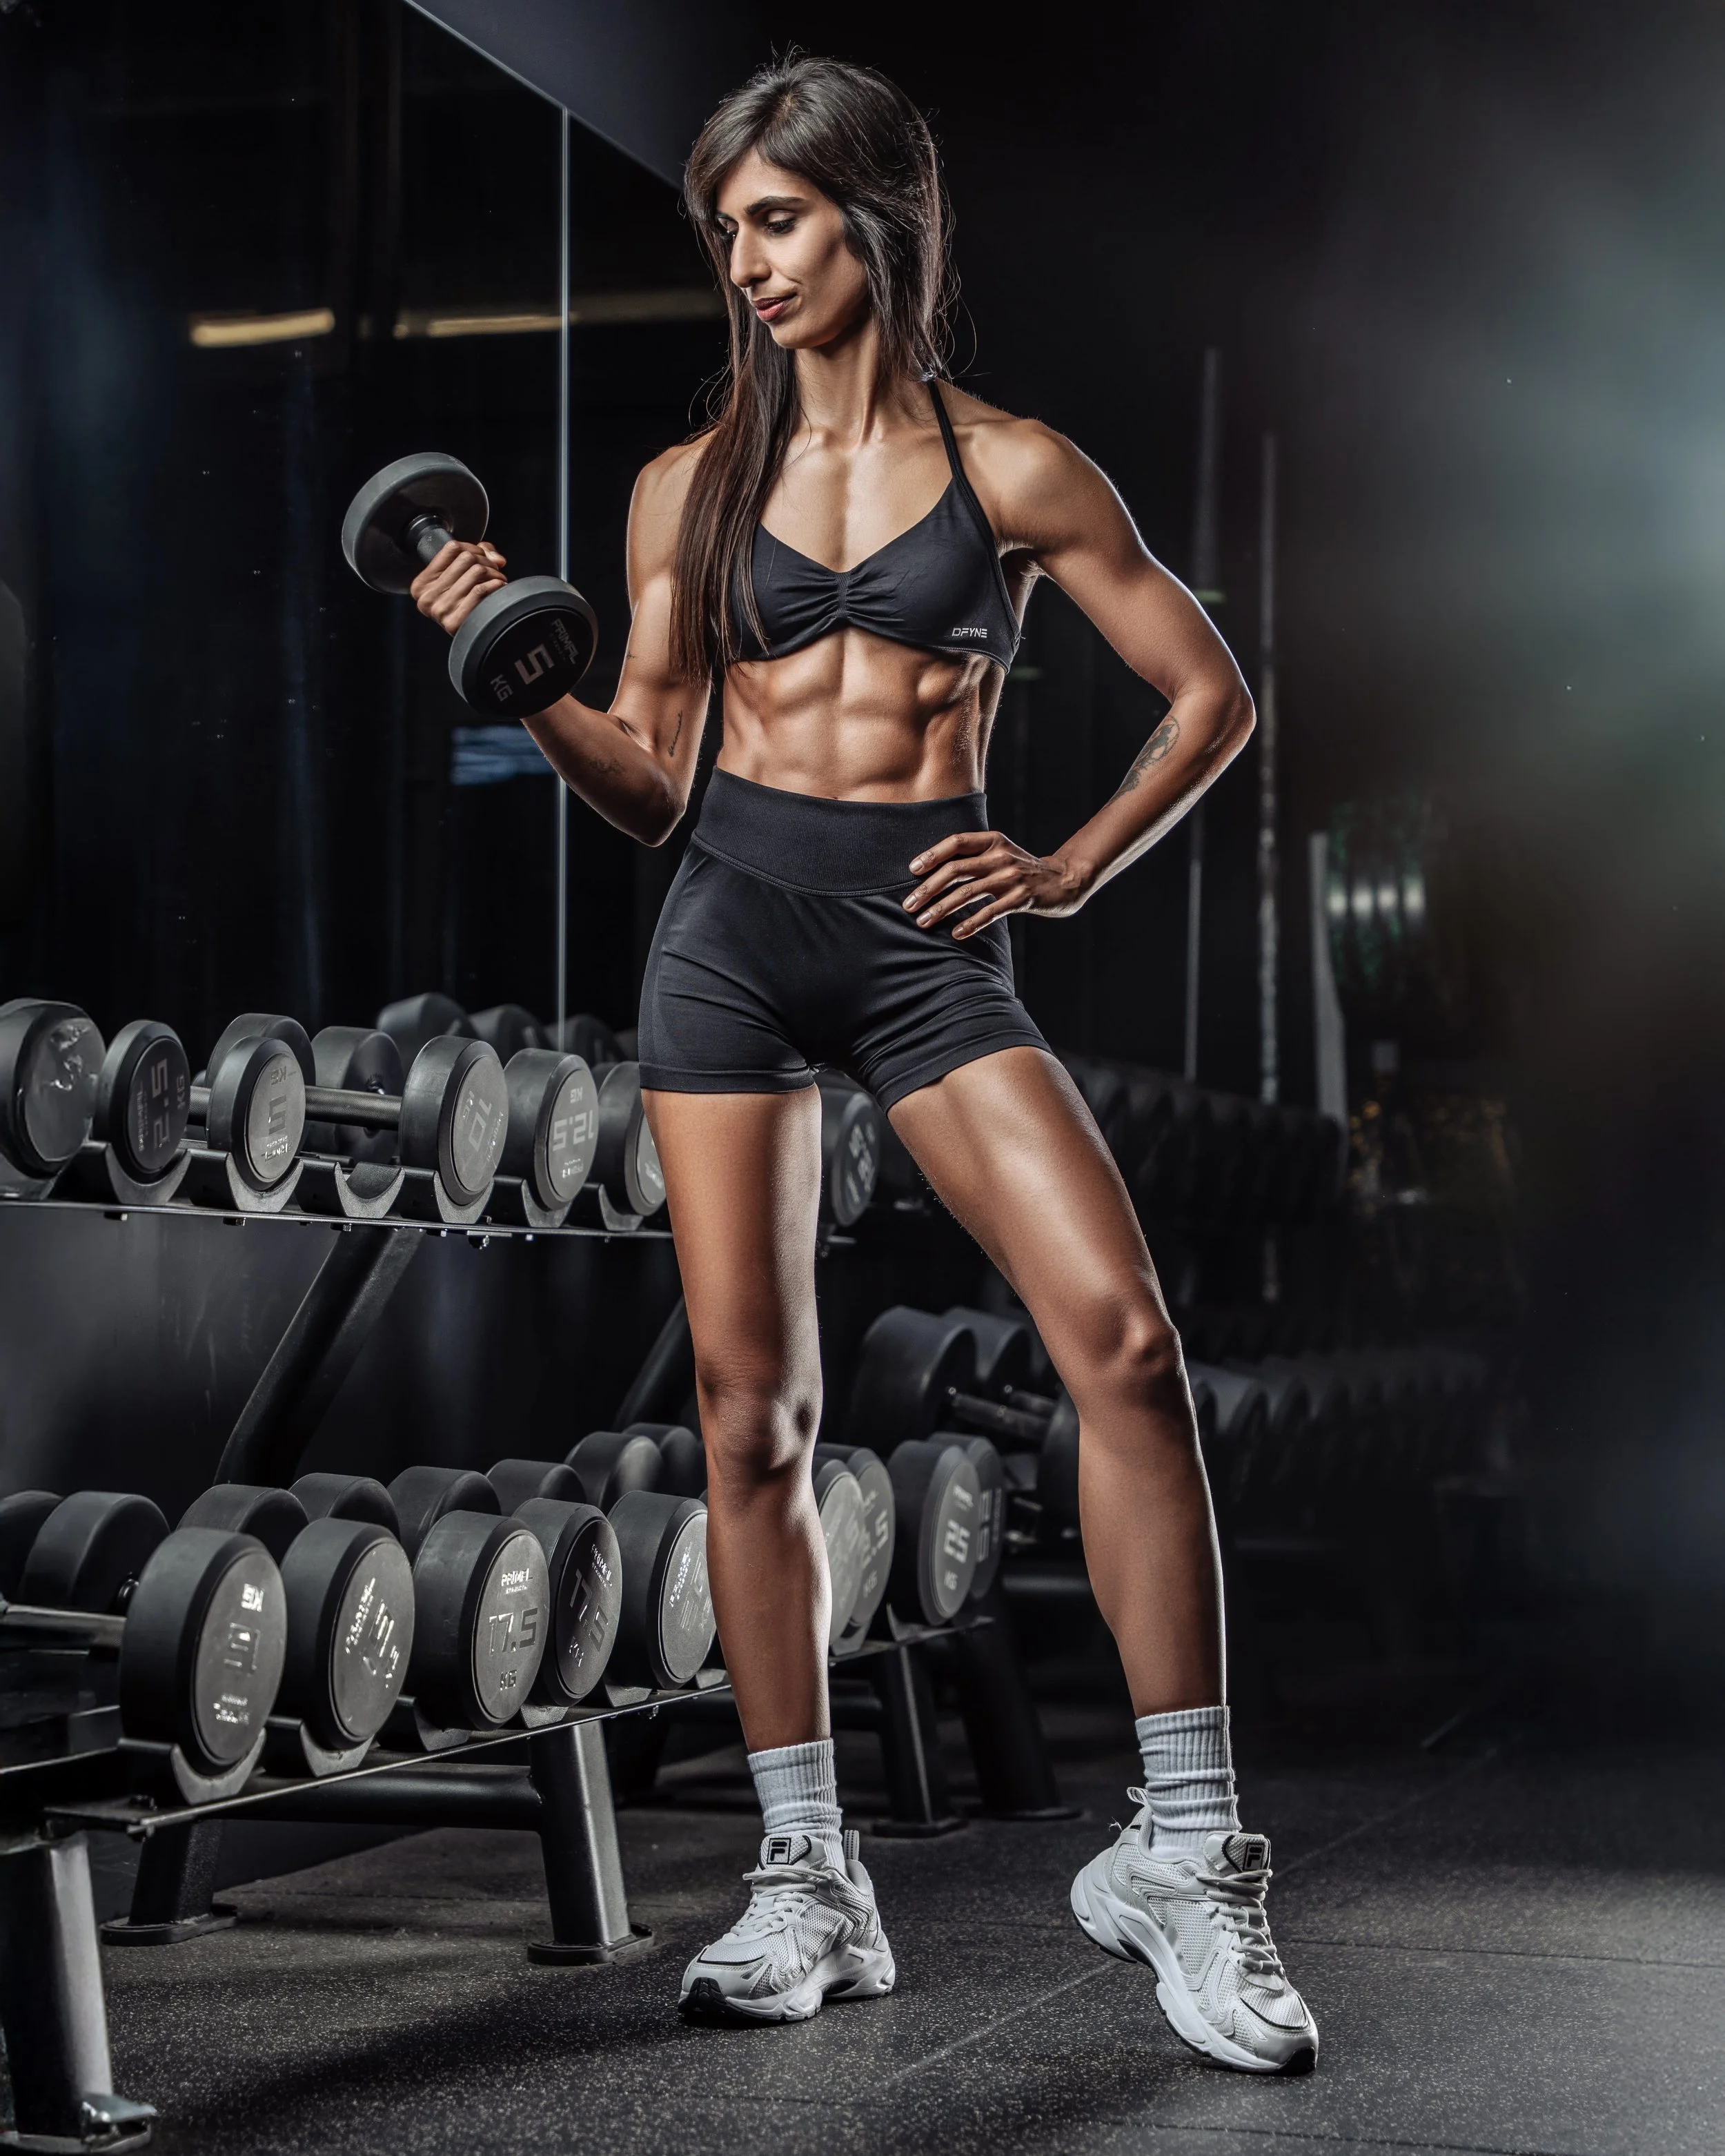
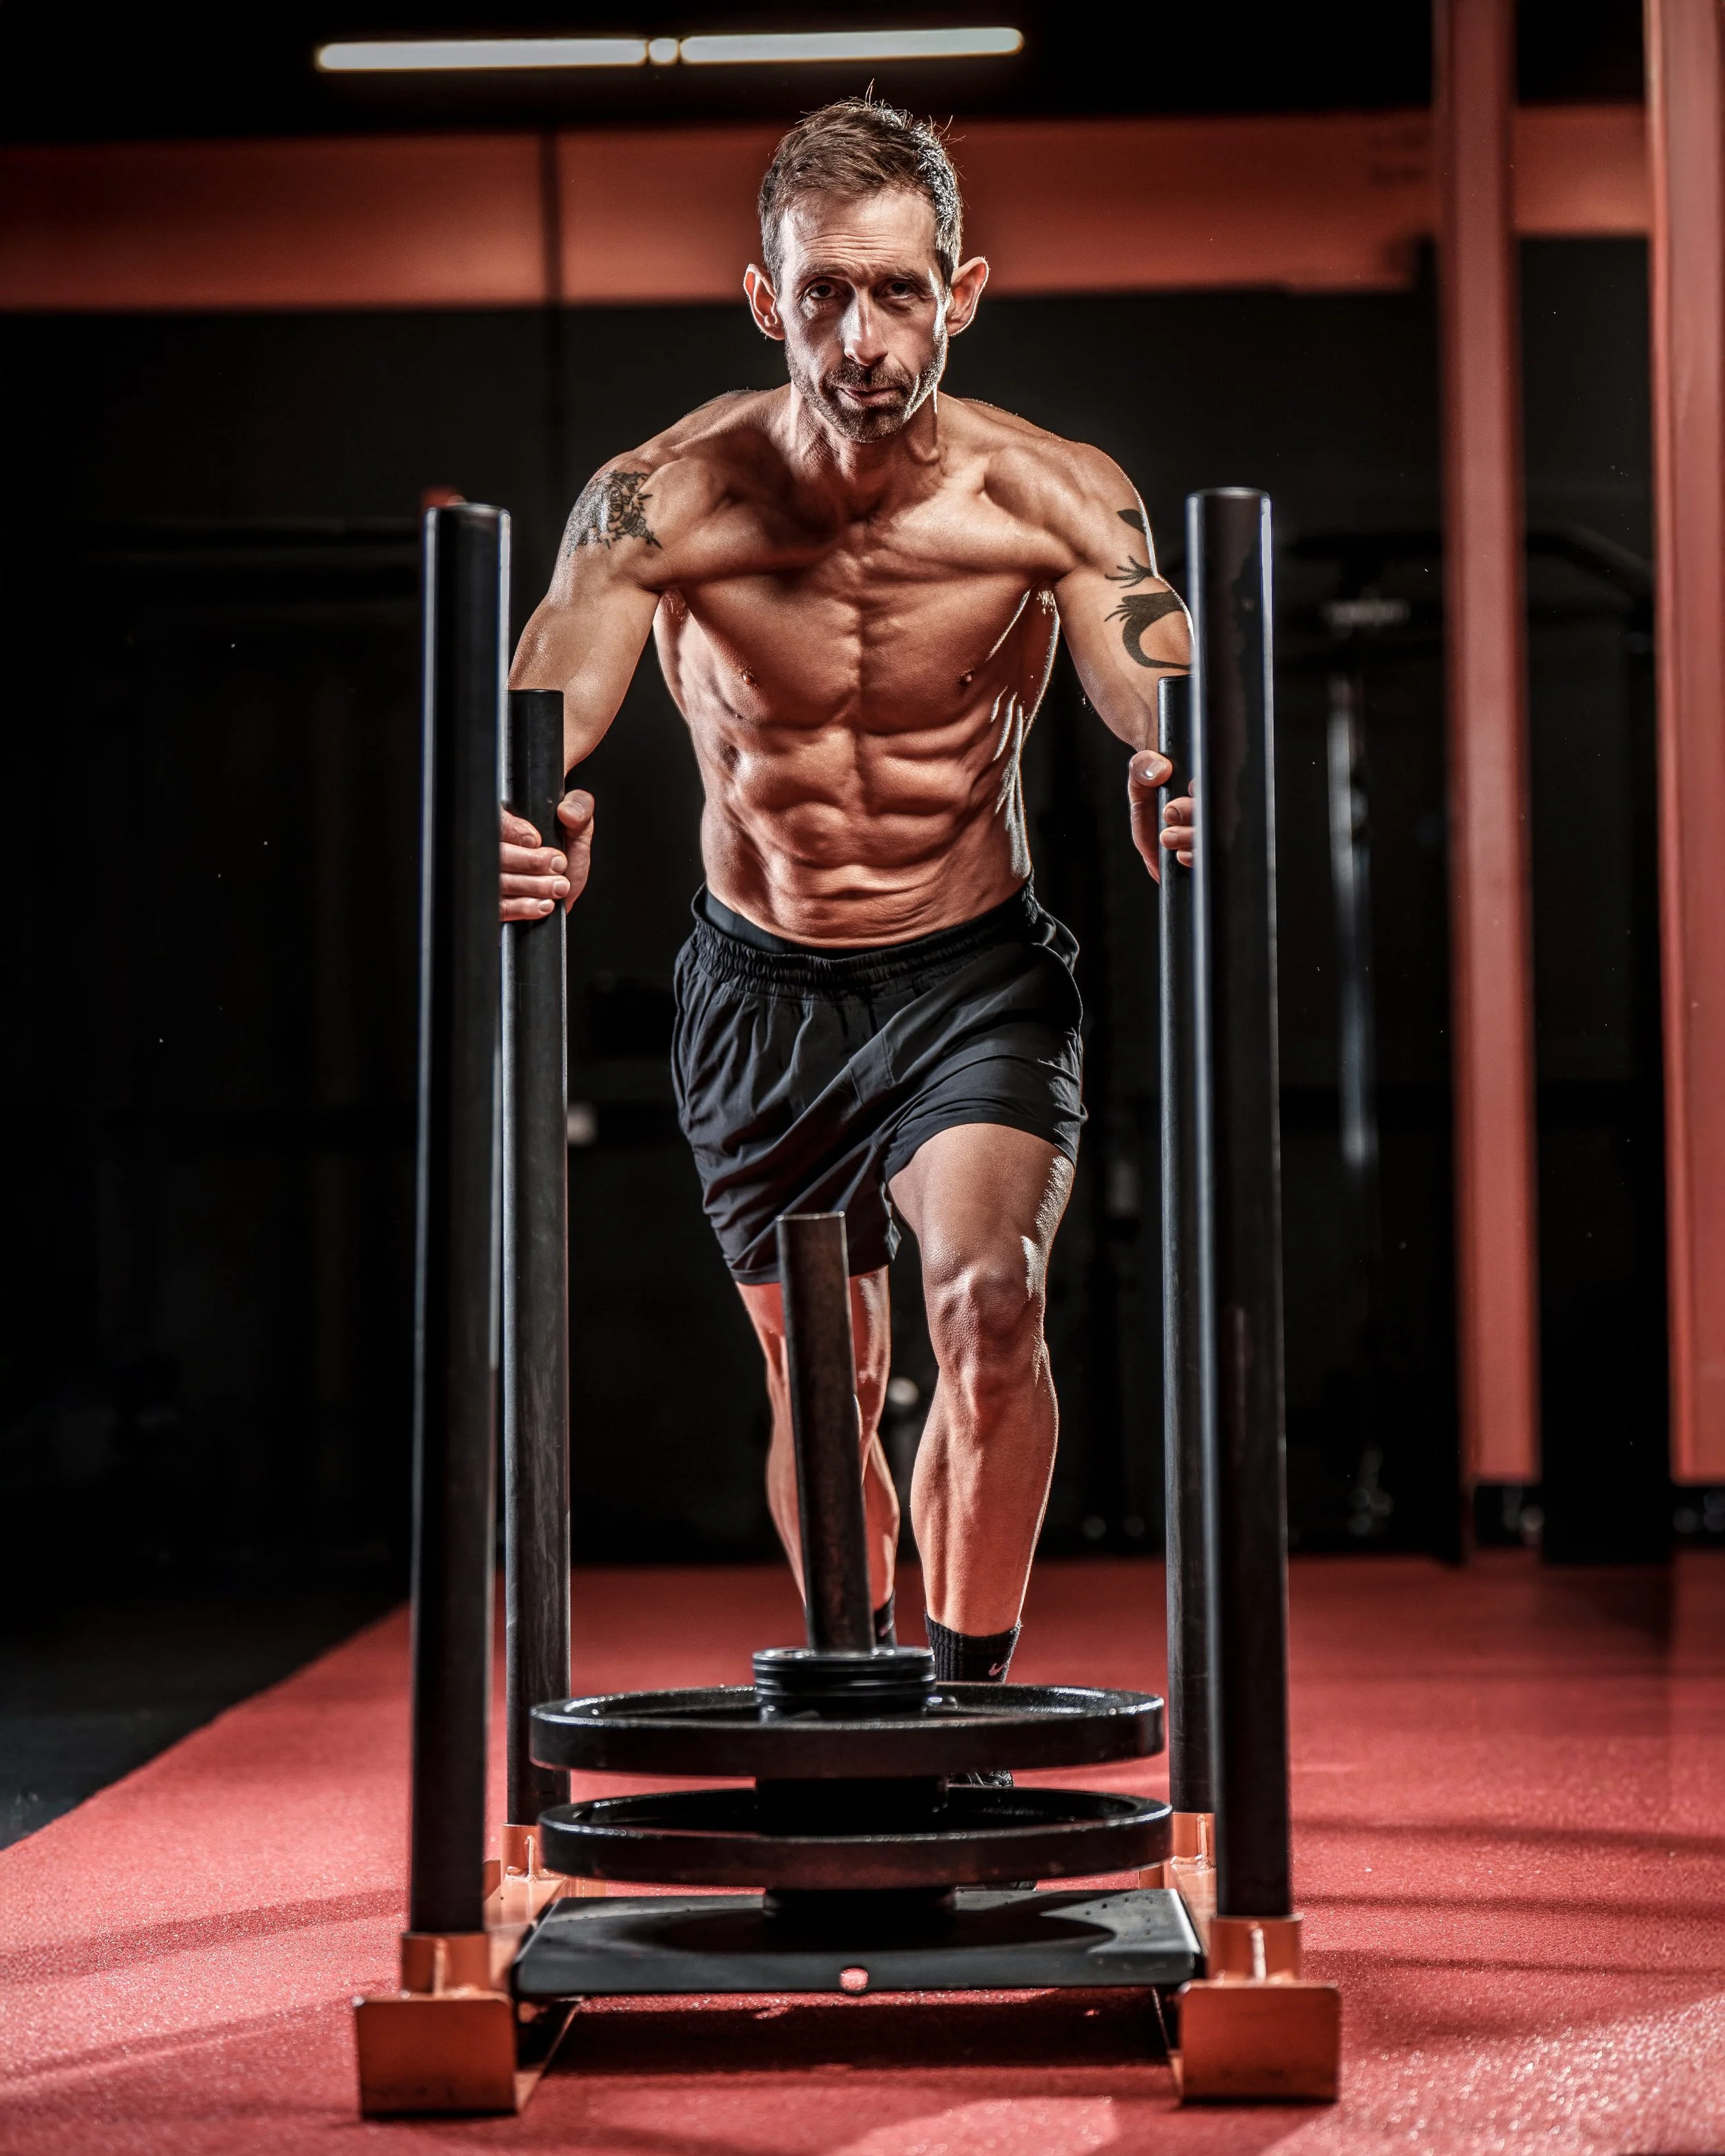
How to prepare and look lean for a fitness photoshoot.
Thinking about doing a fitness photoshoot but not sure how to prepare for it? That is completely normal. Most people who book a shoot feel excited but also a bit unsure about what they should be doing beforehand.
The good news is that preparation does not need to be extreme or complicated. You do not need to be a bodybuilder or a fitness competitor. A fitness photoshoot is about showing your progress, confidence, and hard work in a way that feels right for you.
This guide breaks preparation into two simple phases. Long term preparation and short term fine tuning before the shoot.
Phase 1- Long Term Preparation for a Fitness Photoshoot
This is where the biggest changes happen. If you want to look leaner, more toned, and confident on camera, this phase matters the most.
Set a realistic time frame
There is no single look that everyone needs to aim for. Some people want visible abs, others want a strong athletic shape, and some just want to feel confident and proud of their body.
Depending on where you are starting from, preparation can take anywhere from a few weeks to a few months. Giving yourself enough time reduces stress and leads to better results.
Nutrition basics
You do not need a strict or extreme diet. The goal is usually a small calorie deficit so your body gradually loses body fat.
Protein is important to help maintain muscle and shape, especially if you are training. Try to include a good source of protein in most meals.
Focus mainly on whole foods that you enjoy and can stick to. Consistency over time matters far more than being perfect for a few days.
Training approach
Strength training is one of the best tools for a fitness photoshoot. It helps create shape, tone, and definition as body fat comes down.
Three to four workouts per week is enough for most people. Sessions do not need to be long or complicated. Full body or upper lower splits both work well.
Try to train all major muscle groups and keep things balanced. Core training can help improve muscle tone in the midsection, but fat loss happens through overall consistency, not spot reduction.
Goals
In general, you should aim for the following:
Get below ten percent body fat - this will allow your muscles to look at their best for the photo shoot.
Aim for gradual fat loss - no more than one to 1.5 pounds per week. Any quicker and you risk losing too much muscle and strength.
Maintain (and possibly improve) your performance in the gym.
Phase 2. Fine Tuning Before the Photoshoot
This phase is about small adjustments, not dramatic changes. You should already feel comfortable and confident by this point.
Hydration and recovery
Staying well hydrated in the days leading up to your shoot helps your body look and feel better. Good sleep and low stress also make a visible difference on camera.
Avoid trying anything extreme or new right before the shoot. This includes crash dieting or drastic water changes.
Food choices close to the shoot
In the final days, many people benefit from eating familiar foods that digest well and make them feel comfortable.
Carbohydrates can help muscles look fuller and give you better energy for the shoot. Keep things simple and avoid foods that usually cause bloating for you.
A light workout or pump session before the shoot can help bring blood into the muscles and give a nice overall look without leaving you tired.
Final Thoughts
A fitness photoshoot is not about chasing perfection or pushing your body to extremes. It is about preparation, feeling confident, and celebrating the work you have already done.
You do not need to know how to pose or what to wear in advance. That is something we go through together on the day.
If you are thinking about booking a fitness photoshoot and want guidance on preparation, outfits, and posing, feel free to get in touch. I will help you plan everything so you can enjoy the experience and focus on showing up confident.
Mak Freeman